When your electric car window stops working, it can be a real inconvenience, but don't worry, you've got this. Start by understanding the potential issues, which could range from simple electrical problems to more complex mechanical failures. You'll need to diagnose the problem accurately, and that means checking the fuses, motors, and window regulators. Removing the door panel is a necessary step, but it requires careful documentation for reassembly. But how do you guarantee you're doing it right and not missing critical steps? Let's take a closer look at the entire process so you can fix it effectively.
Contents
Understanding Window Issues
Although electric car windows offer incredible convenience, understanding the potential issues they might face is essential for effective maintenance. Electric windows can become stuck in either the open or closed position, leading to inconvenience and potential damage. These malfunctions are often due to electrical failures such as a blown fuse or mechanical issues like a faulty window motor.
When dealing with a stuck window, the first step is to check for a blown fuse. The fuse box, typically located under the dashboard or in the engine compartment, houses the fuses that control various electrical components, including the window motor. A blown fuse can easily be identified by a broken filament and should be replaced with one of the same amperage to restore functionality.
Another common cause of electric window failure is a faulty window motor. The window motor is responsible for driving the window up and down, and if it fails, the window will remain in its current position. To diagnose this, you'll need to listen for any sounds when you press the window switch. A silent motor usually indicates a failure, whereas a noise without movement suggests a mechanical issue within the motor itself.
Mechanical issues extend beyond just the window motor. Damaged window regulators, which are the mechanisms that actually move the window, can also cause the window to get stuck. A visual inspection of the regulator can reveal broken cables or other signs of wear and tear.
Understanding these potential issues allows for effective troubleshooting, ensuring your electric windows remain functional and reliable. Regular checks and timely repairs can prevent minor problems from escalating into major inconveniences.
Diagnosing Mechanical Problems
When it comes to diagnosing mechanical problems with electric car windows, you should start by pressing the window switch and carefully listening for any movement or sound. If you hear the motor running but the window doesn't move, you're likely dealing with a mechanical failure rather than an electrical issue.
To proceed, gather a digital multimeter and safety glasses. First, verify the window switch is functional by testing it with the multimeter. If the switch works but the window doesn't budge, the problem likely lies within the window regulator or related components.
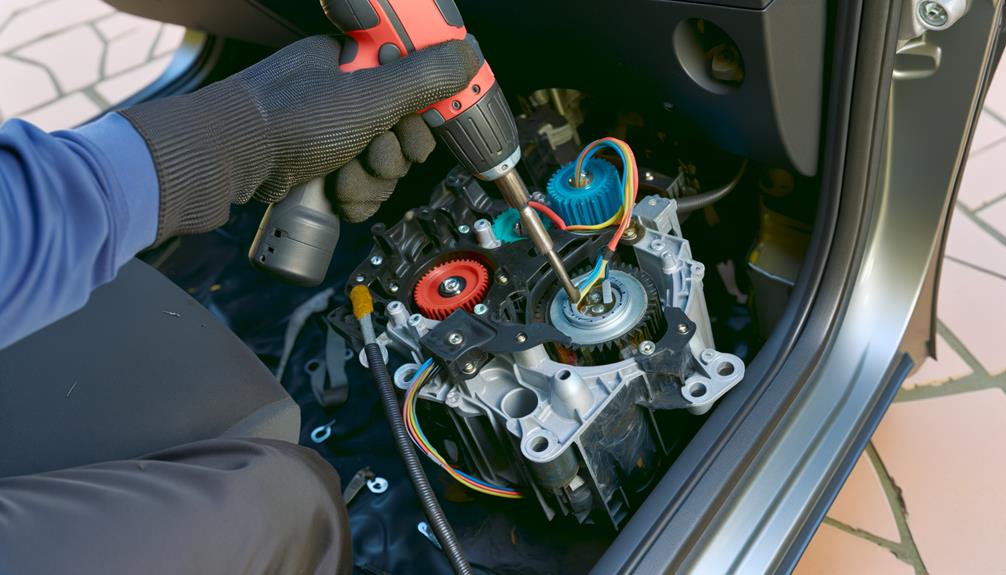
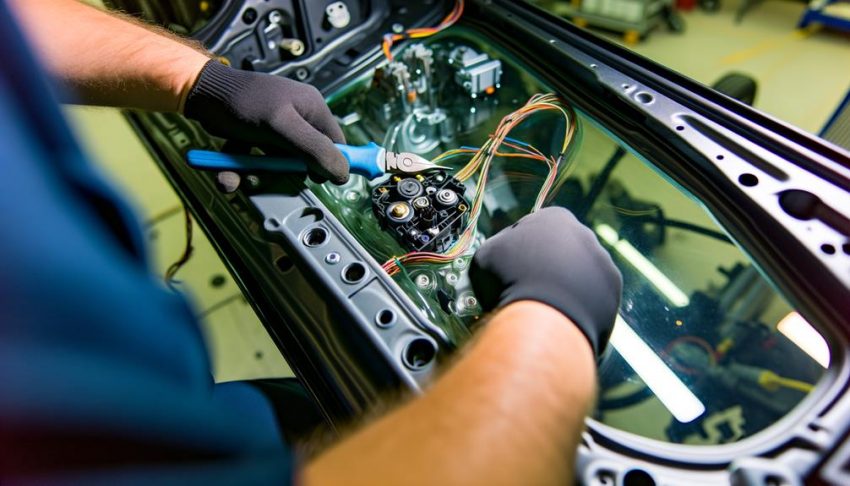
Begin by removing the door panel. Look for securing screws, often 8mm, 10mm, T30, or Phillips. Carefully unscrew these to access the internal mechanisms. Once the panel is off, visually inspect the window regulator. Check for any breaks, misalignments, or frayed cables. These issues can prevent the window from moving even if the motor is operational.
If the motor runs without moving the glass, the window regulator likely needs replacement. The regulator could be disconnected or broken, indicating a deeper mechanical failure. To confirm, manually move the window glass up and down, feeling for any resistance or irregular movement.
Repairing Mechanical Components

To start repairing the mechanical components, remove the door panel using standard screws like 8mm, 10mm, T30, or Phillips to access the inner mechanisms. Inspect the window regulator, cables, and guides for any signs of wear or damage. Lubricate moving parts such as window tracks and guides to guarantee smooth operation, then reassemble the door panel securely.
Door Panel Removal
Removing the door panel is a vital step in repairing the mechanical components of your electric car window, and it requires careful attention to detail. Start by locating all securing screws, which might be 8mm, 10mm, T30, or Phillips. Use the appropriate screwdriver or socket to unscrew them, making sure you don't strip the heads. Document each step by taking pictures or noting the locations of screws and clips to guarantee proper reassembly later.
Next, gently pry the door panel away from the door frame. Use a plastic trim removal tool to avoid damaging the panel or the frame. Carefully detach it from any clips or fasteners along the perimeter. Be particularly cautious with any weather-stripping or door moldings to prevent tearing or deformation. It's essential to be careful not to damage these components as they're important for maintaining the integrity of your car's interior environment.
Store all screws and small parts in a labeled container to prevent loss. This will facilitate a smooth reinstallation of the door panel once you've finished the necessary repairs. Following these steps meticulously guarantees you can efficiently replace the window without complications.
Inspecting Cables and Guides
Before diving into the repair, it's critical to perform a thorough inspection of the window cables and guides. Start by examining the window cables for any signs of breaks or frays. Damaged cables can prevent the window from moving properly and will likely need to be replaced. Next, check the window guides for any misalignment or debris. Blockages can obstruct movement and lead to jamming, so make certain they are clear and properly aligned.
Inspect the window regulator to verify it's functioning correctly. If you hear the motor operating but the window doesn't move, the regulator could be faulty and may require replacement. Additionally, visually examine the connections between the window motor and cables to make certain they are securely fastened and free from corrosion.
Here's a quick reference table to summarize the inspection steps:
| Component | Inspection Task | Possible Issue |
|---|---|---|
| Window Cables | Check for breaks or frays | Damaged cables |
| Window Guides | Inspect for misalignment/debris | Jamming |
| Window Regulator | Verify motor functionality | Faulty regulator |
| Connections | Make certain secure, corrosion-free | Loose connections |
Lubricating Moving Parts
After thoroughly inspecting the cables and guides for any signs of damage or misalignment, it's time to focus on lubricating the moving parts of the window mechanism. Start by cleaning the window tracks and regulator gears. Use a cloth to remove any dust, dirt, or old grease that can interfere with the lubrication process. A clean surface guarantees the lubricant adheres properly and functions effectively.
Choose a silicone-based lubricant or lithium grease, as these options provide long-lasting lubrication without attracting dirt and debris. Apply the lubricant sparingly to the window tracks and the moving parts of the power window mechanism. Avoid over-application, as excess lubricant can cause buildup and impede the window's movement.
Next, manually operate the window several times to distribute the lubricant evenly throughout the mechanism. This helps to reduce friction and improve the operation of the electric motor, preventing future jamming or sticking.
For maximum functionality, regularly lubricate the window components every few months. This routine maintenance will extend the lifespan of your electric window system, guaranteeing smooth and reliable performance. Keep an eye on the window's operation and reapply lubricant as needed to maintain peak efficiency.
Diagnosing Electrical Problems
To begin diagnosing electrical problems with your electric car window, verify other electrical components in the vehicle are functioning properly. This step helps rule out a complete electrical system failure, which might indicate a larger issue. Next, you need to check the fuse responsible for the window circuit. Locate the fuse box, usually under the dashboard or in the engine compartment. Use the vehicle's manual to identify the correct fuse. If the fuse appears blown, replace it and see if the window now operates.
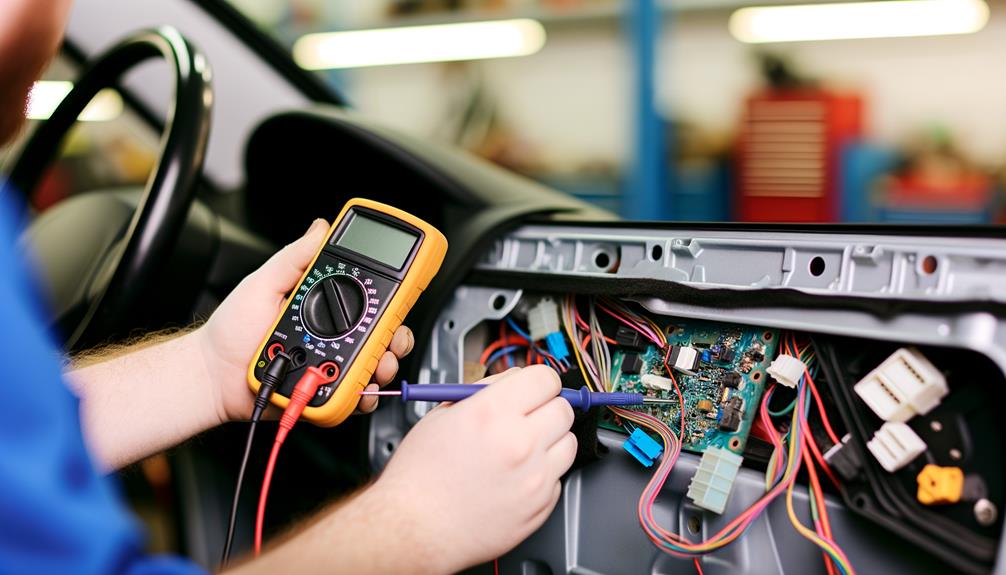
Next, use a multimeter to measure voltage at the window switch. Set the multimeter to DC voltage and place the probes on the appropriate terminals at the switch. A reading of around 12 volts indicates a proper power supply. If the reading is considerably lower, this suggests potential wiring issues.
Inspect the wiring connections from the switch to the window motor. Loose or corroded connectors can interrupt electrical flow. Carefully examine these connections for any signs of wear or corrosion. Clean or secure any problematic connectors you find. Also, trace the wiring from the switch to the motor, checking for any breaks, fraying, or damage that might disrupt the signal.
Fixing Electrical Components

To fix the electrical components of your car window, start by testing the window switch functionality with a multimeter to guarantee it's working correctly. Next, use the multimeter to inspect the power supply to the window motor, confirming a 12-volt reading. Finally, repair any corroded or loose connections in the wiring to restore proper electrical flow.
Test Window Switch Functionality
When diagnosing a malfunctioning electric car window, one essential step is to test the window switch functionality. Start by setting your multimeter to D/C volts. Connect the leads to the incoming electrical wires of the switch; you should see a reading of 12 volts indicating proper function. If you don't get this reading, the switch might be faulty.
Next, carefully remove the switch from the door panel. Inspect it for any visible damage or wear. Look for loose or corroded connectors as these can disrupt the electrical flow and cause the window malfunction. Verify that all connections are secure.
If the switch appears intact but you still suspect it's faulty, test it further with the multimeter. If the switch receives power but doesn't operate the window, it's likely defective and needs replacing.
After replacing the switch, reassemble the door panel. Test the window to confirm the repair was successful. By following these steps, you can precisely diagnose and fix issues related to the window switch, guaranteeing your electric car window operates smoothly.
Inspect Motor Power Supply
Once you've ruled out the window switch as the culprit, the next step is to inspect the motor power supply. Start by setting your multimeter to D/C volts. Connect the leads to the incoming electrical wires of the window motor. You're looking for a reading of approximately 12 volts. If you get this reading, it means the power supply is functioning correctly. If not, there's a problem you need to address.
Trace the wiring from the window switch to the motor. Look for any breaks or interruptions in the wiring. These could be affecting the power supply to the motor. Don't forget to check the fuse box as well; a blown fuse can also cut off power to your car windows. Examine all junction points along the wiring path for loose connectors and corrosion, as these can disrupt the electrical signals.
After confirming that the motor is receiving power, test the motor itself. Connect the multimeter leads directly to the motor's incoming wires. If it reads 12 volts but still fails to operate, the motor is likely faulty and may need replacement. This guarantees that the issue isn't with the power supply but with the motor itself.
Repair Corroded Connections
Corroded connections are a common issue that can severely disrupt the electrical flow necessary for your electric car window's operation. To repair corroded connections, you'll need to inspect and clean each component meticulously to guarantee your window motor functions correctly. Here are the steps you should follow:
- Inspect Wiring Connections: Carefully examine all wiring connectors for signs of corrosion. Corroded connectors can interrupt the electrical flow required for your window's operation.
- Clean Corroded Areas: Use a wire brush or a similar tool to scrub away any corrosion. This guarantees a stable electrical connection and prevents further issues down the line.
- Secure Connectors Tightly: After cleaning, make certain all connectors are fastened securely. Loose connections can affect the performance of the window motor and compromise electrical flow.
- Verify Voltage Readings: Utilize a multimeter to check voltage readings at the switch and motor connectors. Guarantee they are within the expected range, around 12 volts.
- Regular Maintenance: Regularly check and maintain electrical connections to prevent future corrosion and guarantee the longevity of your window mechanism.
Cost and Budget Considerations
Repairing electric car windows entails various costs that can fluctuate based on several factors, such as the make and model of your vehicle. When evaluating the cost, repair specifics, and guidance from your owner's manual can provide a clear understanding of potential expenses. Generally, replacing a window regulator can set you back anywhere from $200 to $800, depending on your vehicle's make and model. This labor-intensive procedure is often priced higher for luxury or specialized vehicles due to the complexity and specific parts required.
If your issue lies with a broken window motor, expect costs to hover between $200 and $300. This estimate typically includes both labor and parts, making it a slightly less expensive repair compared to the window regulator. It's prudent to check if your vehicle is still under warranty, as warranty coverage can greatly reduce or even eliminate these repair costs, thereby offering substantial savings.
For those looking to manage their budget effectively, pondering aftermarket parts is advisable. Aftermarket components are often much cheaper than original manufacturer parts without sacrificing quality. This substitution can lead to considerable cost savings, allowing you to address your window issues without a hefty financial burden.
Additionally, regular maintenance and prompt repairs are essential strategies to prevent more extensive and costly issues down the line. By adhering to a routine maintenance schedule and addressing window problems as they arise, you can effectively manage and potentially minimize overall expenses related to your electric window functionality. This proactive approach guarantees that small issues don't escalate into major, costlier repairs.
Tools and Professional Help

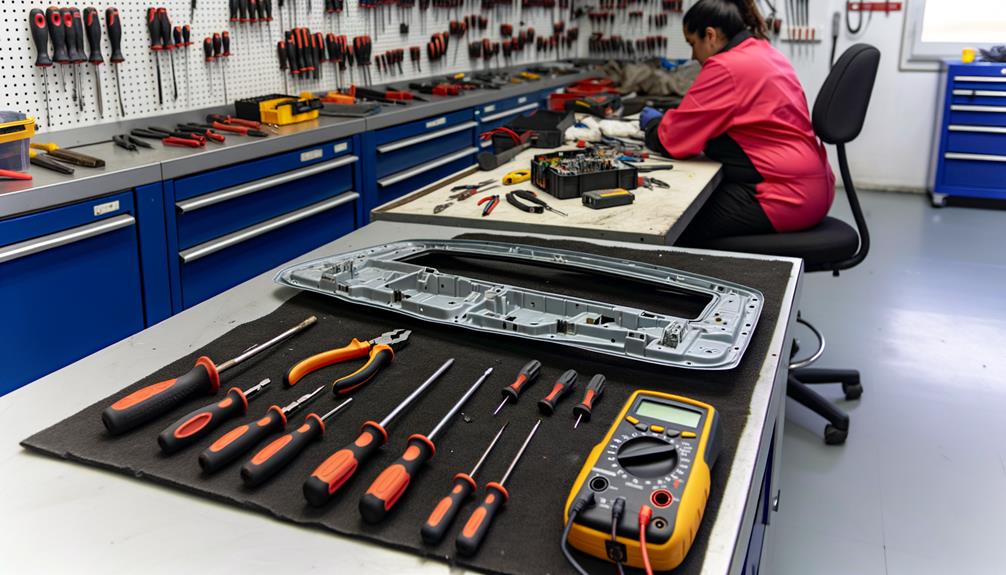
When tackling electric car window repairs, having the right tools on hand can make the process considerably smoother. Electric cars often have sophisticated systems that require specific tools and careful handling. Here's a list of essential items you'll need:
- Screwdriver set: Necessary for panel removal.
- Multimeter: Crucial for electrical testing.
- Lubricants: Guarantee smooth operation of window tracks.
- Safety gloves: Protects against sharp edges.
- Eyewear: Shields eyes from debris while working on door panels.
Using these tools, you can diagnose and address common issues such as electrical failures or mechanical obstructions within the window mechanism. Start by carefully removing the door panel with your screwdriver set, then use the multimeter to check for any electrical irregularities. If the problem lies in the mechanical components, applying a lubricant to the window tracks can often resolve sticking or sluggish movement.
However, if basic troubleshooting doesn't fix the issue, seeking professional help is advisable. Mechanics specializing in Electric Cars possess the specialized knowledge and tools to efficiently handle more complex problems. They can also provide insights into whether the issue might be covered under warranty, potentially saving you significant costs.
Additionally, researching local repair shops can help you find competitive pricing for services. Keep in mind that purchasing aftermarket parts can be a cost-effective alternative without compromising on quality. Ultimately, while DIY repairs are feasible with the right tools, professional help guarantees that your electric car window is fixed correctly and safely, maintaining the integrity of your vehicle.
Frequently Asked Questions
How Do You Fix an Electric Car Window That Won't Go Up?
Start with electrical circuit troubleshooting using a multimeter. Check for power at the switch and fuses. If intact, proceed to motor assembly inspection. If the motor works but the window doesn't move, consider window regulator replacement.
Can I Fix Power Window Myself?
Yes, you can fix a power window yourself. You'll need tools like a screwdriver set and a digital multimeter. Follow safety precautions by disconnecting the battery. Troubleshooting steps include checking fuses, switches, and wiring connections.
Why Do Electric Car Windows Stop Working?
Electric window issues often stem from common problems like blown fuses, faulty motors, broken regulators, wiring issues, or child safety locks. For troubleshooting tips, check the fuses, motor, regulators, wiring, and verify child safety locks aren't engaged.
How Do You Manually Raise an Electric Car Window?
To manually raise an electric car window, use manual override techniques: hold the closed position switch while pushing the glass up. Check for window motor issues or window regulator problems. If needed, inspect wiring or remove the door panel.
Conclusion
To summarize, fixing an electric car window requires a systematic approach. Start by diagnosing both mechanical and electrical issues, using tools like a multimeter for accuracy. Document each step meticulously when disassembling the door panel. Lubricate and clean parts to guarantee smooth operation. If the problem persists or seems too complex, don't hesitate to seek professional assistance. This guarantees the repair is done correctly and safely, saving you time and potential future issues.
