When you're considering building an electric car, it's vital to start by selecting the right vehicle, one that's lightweight and suitable for conversion. Once you've chosen the vehicle, the next steps involve removing all gasoline components and installing an electric motor with an adapter plate. This is where things get interesting: the motor connection and battery pack setup are critical for performance. You'll need to wire the motor controller properly to guarantee efficient voltage flow, and don't forget about important safety measures. But what about addressing heating and power systems? There's a lot more to think about.
Contents
Selecting the Right Vehicle
Selecting the right vehicle is a critical step in converting a car to electric. When you aim to build an electric car, it is crucial to take into account the vehicle's weight, as lighter cars enhance battery efficiency. A model like the Geo Metro is highly recommended due to its minimal major issues and low weight, making it an ideal candidate for an electric car conversion.
You should avoid vehicles with power accessories. Features such as power windows, power steering, and power seats add unnecessary weight, which can hinder the performance of your converted electric vehicle. These additional components require more energy to operate, reducing the overall efficiency of your build.
Moreover, verify the vehicle you select can meet DMV requirements. This includes providing proof of engine removal to qualify for emissions testing exemptions. However, you must retain critical safety features like airbags to comply with safety regulations. A vehicle that meets these criteria will streamline the conversion process and help you avoid legal complications.
When choosing a vehicle, also take into account its unique benefits. For instance, opting for models not available in electric form, like certain pickup trucks, allows you to meet specific transportation needs that standard electric vehicles might not address. This not only makes your project more versatile but also fills a niche market.
Removing Gasoline Components
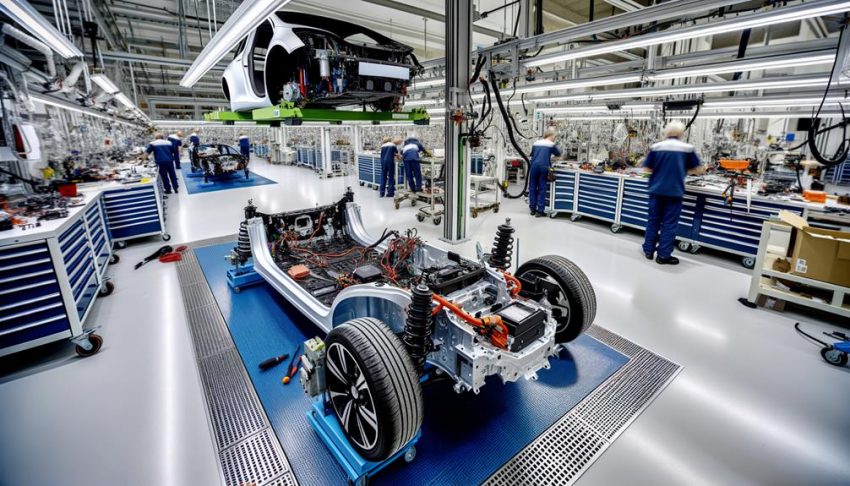
Wondering how to begin the process of removing gasoline components from your vehicle? This vital step transforms your traditional car into an electric vehicle (EV) by eliminating the gas tank, engine, radiator, and fuel lines. Not only does this greatly reduce your vehicle's weight, which enhances battery efficiency, but it also guarantees compliance with DMV emissions testing exemptions.
Start by draining the gas tank. Use a siphoning pump to remove any leftover fuel safely. Next, detach the gas tank by unscrewing the mounting bolts. Be prepared to handle specialized tools like a socket wrench set and a fuel line disconnect tool. Removing the tank can offset conversion costs; some have sold old tanks for up to $100.
After the gas tank, focus on the engine. Disconnect the battery to avoid electrical hazards, then systematically remove the engine by detaching the exhaust manifold, alternator, and other connected components. An engine hoist will facilitate lifting the engine out. Engines can fetch up to $450, further easing your conversion costs.
Next, remove the radiator and fuel lines. The radiator is usually attached with just a few bolts and hose clamps. Carefully disconnect and remove it, confirming you drain the coolant first. Fuel lines can be disconnected using a fuel line disconnect tool. Confirming all gasoline-related systems are removed is essential for proving your EV is emissions-exempt.
However, verify safety features like airbags remain intact to meet post-conversion safety regulations. Throughout this process, meticulous care is key to avoid damaging the vehicle's structure. Following these detailed steps, you'll be well on your way to converting your car into an efficient electric vehicle.
Installing the Adapter Plate

Installing the adapter plate is a vital step in your electric vehicle conversion, as it connects the electric motor to the original transmission with precise alignment. This process demands careful attention to detail to guarantee optimal performance and longevity of your converted vehicle.
First, start by confirming all gasoline-related components are removed from the vehicle. This not only facilitates easier access but also reduces overall weight. Next, you'll need to take accurate measurements of both the electric motor and the transmission input shaft. These measurements are essential for the custom fabrication of the adapter plate. Collaborating with a skilled local machinist can help guarantee that the adapter plate is tailored precisely to your specific components.
High-quality materials, such as billet aluminum or high-grade steel, are recommended for the adapter plate to withstand the torque generated by the electric motor and maintain structural integrity over time. The custom fabrication process will involve creating a precise fit, aligning the motor shaft and transmission input shaft perfectly. Misalignment can lead to excessive wear or even failure of the components.
Once the adapter plate is fabricated, position it between the electric motor and transmission. Secure the adapter plate using appropriate fasteners and follow the torque specifications provided by the manufacturer to prevent any loosening during operation. It's essential to recheck all alignments and guarantee everything is snug and secure.
This meticulous attention to detail in installing the adapter plate will pave the way for a seamless connection between your electric motor and transmission, setting the stage for the next vital steps in your electric car conversion.
Connecting the Electric Motor
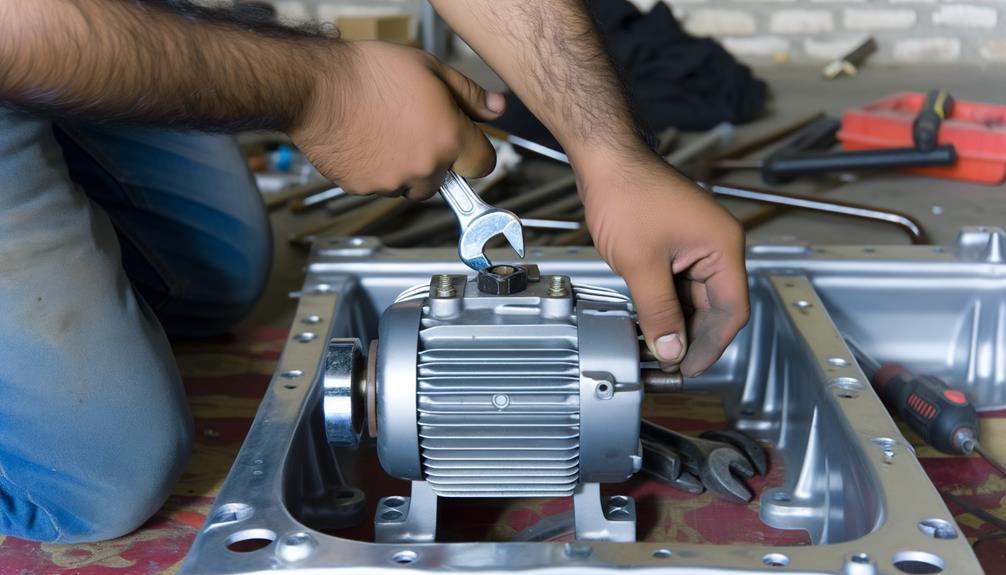
Connecting the electric motor to your vehicle's transmission is a significant step that demands meticulous precision. You'll need an adapter plate to guarantee the electric motor and transmission shafts align perfectly. This adapter plate often requires custom fabrication, so it's wise to collaborate with a local machinist who can assure the precise fit needed for peak performance.
To transfer the rotary power from the electric motor to the transmission, a coupler, such as a Lovejoy-style connector, is employed. This coupler not only simplifies the connection process but also enhances the strength of the linkage. Confirm the coupler is compatible with both your motor and transmission, and make any necessary adjustments for a seamless connection.
When selecting an electric motor, repurposed motors from forklifts are a cost-effective option, often available for as low as $50. However, these motors might need thorough cleaning, insulating, and reassembly to ascertain they perform effectively.
Next, you'll need a solid-state electronic motor controller, such as the Curtis 400 amp peak PWM controller. This device regulates the power flow between the battery pack and the electric motor. Operating on a voltage range of 48-72 volts, it guarantees smooth and efficient performance and typically costs around $300.
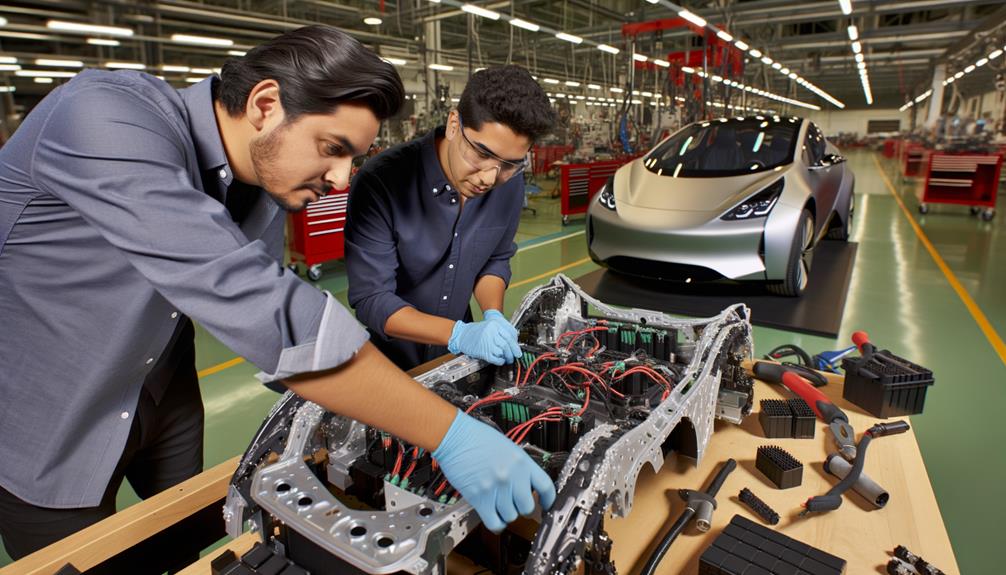
Proper wiring and integration of the electrical components are essential. Consult the motor and controller manuals for detailed wiring diagrams. Correctly following these schematics will guarantee that your system is set up for reliable operation, making sure the electric motor receives the appropriate power from the battery pack. This meticulous attention to detail is critical for the successful conversion of your vehicle to electric power.
Setting Up the Battery Pack

Setting up the battery pack for your electric car conversion requires meticulous planning and execution to guarantee peak performance and longevity. You'll be working with multiple 12V batteries—typically six Deka Dominator Gel-Cell batteries—to create a 72V system. This configuration is ideal for performance and efficiency.
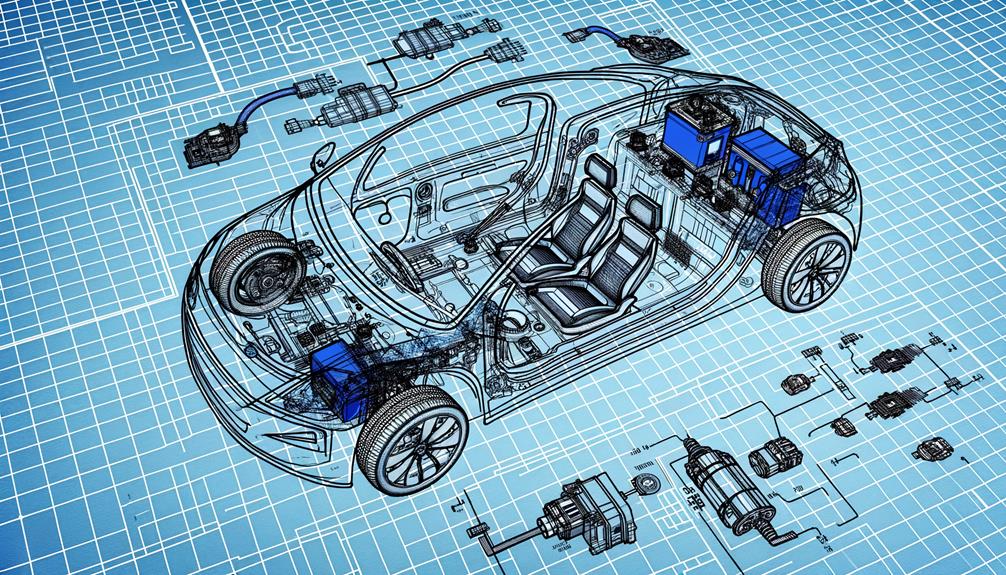
First, let's talk about battery placement. Ideally, distribute the weight evenly for balance. A common layout is four batteries in the cargo compartment and two in the front, replacing the radiator. This setup ensures your vehicle maintains stability and handling.
Here's a concise layout for your battery setup:
| Battery Location | Number of Batteries | Purpose |
|---|---|---|
| Cargo Compartment | 4 | Balance rear weight, easy access |
| Front Radiator Space | 2 | Balance front weight, utilize existing space |
| Total Battery Configuration | 6 | Achieve 72V system |
Next, you need a specific 72V charger to recharge your battery pack. These can often be sourced used for around $200. Ensure that the charger is compatible with your battery type and configuration to avoid any charging issues.
For convenient and safe charging, install a power inlet where the gas tank used to be. This will facilitate easy access and should be connected to a dedicated garage circuit.
When you're planning, think ahead. If you decide to expand your battery pack in the future, allocate space for larger battery boxes. This foresight allows you to double the capacity for enhanced range and performance without extensive modifications later.
Wiring the Controller
When wiring the controller for your electric car, consult the controller manual for specific wiring diagrams to guarantee proper connections and avoid malfunctions. Connect the battery positive and negative terminals to the controller, and then link the motor positive and negative terminals, guaranteeing proper voltage flow within the 48-72 volt range typical for a Curtis 400 amp peak PWM controller. Use 10 AWG wires for high current applications, and incorporate fuses or circuit breakers for safety against overcurrent situations.
Controller Wiring Diagram Essentials
Understanding the intricacies of wiring an electric motor controller is fundamental to guaranteeing your electric car operates efficiently and safely. At the heart of this process is the controller wiring diagram, which is indispensable for accurate connections. Whether you're working on electric cars or electric motorcycles, attention to detail in wiring can considerably impact the total cost and performance of your project.
First, start by identifying the battery positive and negative terminals on your controller. These connections are vital as they dictate the power flow from the battery pack to the motor. Verify that the motor terminals are properly connected according to the controller wiring diagram specific to your controller model.
For responsive acceleration and efficient motor speed control, solid-state controllers use Pulse Width Modulation (PWM). This requires precise wiring to the throttle input. Always refer to the manufacturer's wiring diagram to confirm that the ground and signal wires align correctly.
Lastly, proper insulation and protection of wires are essential to prevent short circuits, especially in high-voltage systems typical in electric vehicles. Securely fastening and insulating all connections will help maintain reliable operation and safety standards. By following these guidelines, you'll be well on your way to a successfully wired electric motor controller.
Connecting Motor and Batteries
To effectively wire the controller for connecting the motor and batteries, confirm you meticulously follow the manufacturer's wiring diagrams. This step is vital to avoid shorts and guarantee peak performance. Begin by using an appropriate gauge wire, such as 10 AWG, to handle the current load. The controller, such as a Curtis 400 amp peak PWM controller, will regulate power delivery to the motor in a 48-72 volt system.
Connecting the battery pack in a series configuration is essential to achieve the desired voltage. For instance, to create a 72V system, you should wire six 12V batteries in series. This setup will guarantee the correct voltage reaches the controller and motor.
Implement these safety measures:
- Fuses: Install fuses to protect against overcurrent.
- Circuit Breakers: Use circuit breakers to prevent potential damage during operation.
- Solid Connections: Confirm all connections are solid to avoid power loss and overheating.
- Insulation: Properly insulate all wires to prevent shorts.
Ensuring Proper Voltage Flow
After connecting the motor and batteries, the next step involves wiring the controller to verify proper voltage flow throughout the system. First, consult the controller's manual for specific wiring diagrams and instructions tailored to your electric motor and battery setup. Using the correct wiring diagrams verifies you match the specifications of your components accurately.
When selecting wires, choose quality wire gauges appropriate for the current load. Typically, 10-14 gauge wires are suitable for most electric vehicle applications. Secure and insulate all connections to prevent voltage drop and potential short circuits, verifying reliable performance.
Wiring Essentials
| Component | Action Required |
|---|---|
| Controller Manual | Consult for wiring diagrams and instructions |
| Wire Gauge | Use 10-14 gauge wires for current load |
| Connection Insulation | Secure and insulate to prevent voltage drop and short circuits |
| Safety Cutoff Switch | Install for emergency shutdown without disrupting the system |
| Regular Maintenance | Check for wear or corrosion to maintain peak voltage flow |
Installing a safety cutoff switch is critical. It allows you to shut down the system in emergencies without disrupting the entire setup. Regularly inspect wiring and connections for signs of wear or corrosion to maintain peak voltage flow and performance over time. Following these steps will verify your electric car's controller wiring is robust and reliable.
Addressing System Challenges

Building an electric car involves numerous system challenges that require innovative solutions to guarantee the vehicle operates efficiently and safely. When you've built electric cars or even hybrid vehicles before, you know that maintaining fuel economy isn't the only concern. One of the primary challenges is the removal of the internal combustion engine's heat source, necessitating alternative heating solutions. For winter driving comfort, you can use a household electric oil-filled radiator powered by 120V AC.
Initial test drives often reveal braking difficulties due to the absence of engine vacuum. This issue can be resolved by implementing an electric vacuum system using a 12V air pump monitored by a vacuum switch to restore power brakes. This addition guarantees that the braking system remains functional and safe.
Here are key considerations when addressing these system challenges:
- Heating Solutions: Without the internal combustion engine, use a 120V AC household electric oil-filled radiator to maintain cabin warmth during winter.
- Braking System: Install an electric vacuum system with a 12V air pump and a vacuum switch for effective power brakes.
- Component Compatibility: Carefully plan the conversion process, ensuring all components are compatible, necessitating custom fabrications like creating an adapter plate for the electric motor to align with the original transmission.
- Battery Monitoring: To prevent failures, install warning lights that alert the driver to low battery charge levels, guaranteeing the safe operation of the electric vehicle.
Adhering to national guidelines like NCOP 14 is essential. Use specialized tools and safety measures, such as high-voltage gloves and cutoff switches for emergencies, to guarantee a secure working environment. Following these steps meticulously will help you navigate the complexities of building an electric car.
Frequently Asked Questions
Can You Make Your Own Car Electric?
Yes, you can make your own car electric. Electric vehicle advantages include efficiency and reduced emissions. With battery technology advancements and DIY conversion kits, you'll find the process more accessible, especially with lightweight cars like the Geo Metro.
How Much Would It Cost to Build an Electric Car?
Building an electric car can cost between $5,000 to $20,000. With advancements in battery technology and cost-effective materials, you can use DIY electric components to reduce expenses. Detailed schematics and precise terminology are essential for success.
How Much Does It Cost to Convert a Car to Electric?
Converting a car to electric can cost $5,000 to $20,000. Your expenses depend on conversion kits, battery selection, and installing charging stations. With self-machining and selling old parts, costs might drop to $800-$1,200.
Are Electric Cars Easy to Build?
Building a DIY electric car isn't straightforward, but with advanced battery technology, a solid grasp of custom design, and precise schematics, it's achievable. You'll need patience, technical expertise, and access to detailed resources for success.
Conclusion
By now, you've transformed a gasoline vehicle into an efficient electric car. You've carefully selected a lightweight vehicle, removed all gasoline components, installed the adapter plate, and connected the electric motor. Setting up the battery pack with ideal configuration and wiring the controller accurately guarantees smooth voltage flow. With safety measures like fuses and circuit breakers in place and addressing heating and power systems, your electric car is now ready for the road.
